NAUTICED SAILING BLOG
Sailing education, tips, and news from the global leader in sailing education and charter vacations. With over 500 blogs and articles, NauticEd offers a wealth of sailing information.
Search for a topic.
Follow a manual added link
NEW!
Virtual Reality Training
Learn skills from basic sailing to advanced docking and Nav rules. Accelerate your training with cutting-edge VR tech and enjoy FREE VR sailing events and racing. VR Sailing Course ›
Top Blogs.
 Sailing Education ›
Pro Techniques, Tips and Tricks, Certification and Licensing
Sailing Vacations ›
Yacht Charter and Sailing Vacation Destinations
Free Sailor Toolkit.
Get started with 2 free starting courses, eLogbook, and Sailing Resume! Learn more ›


“We have one very powerful principle. It is concentrated in one word: competence”
NauticEd is the leading International sailing and boating education company – offering over 20 best-in-class online sailing courses, a global network of sailing schools and private sailing instructors, and top-ranked sailing blog. NauticEd Sailing Vacations includes full-service yacht charter agents ready to assist you when planning a sailing vacation anywhere in the world. View courses and more at nauticed.org >
Explore & Discover
Search for a topic.
RYA Day Skipper with NauticEd
Learn the difference between the RYA Day Skipper Course and The NauticEd Skipper Course, and choose which course and sailing license will be best for you!

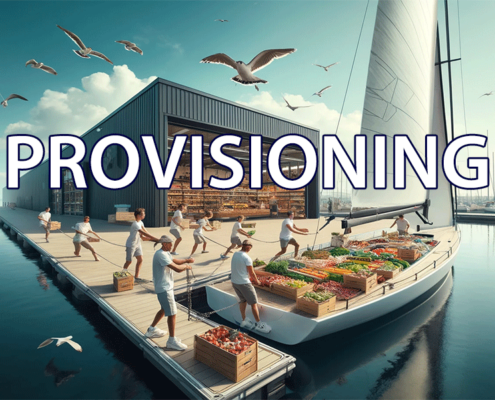
PROVISIONING FOR CHARTER IN THE BRITISH VIRGIN ISLANDS
Along with places to provision, we also provide some key tips to help become competent in this skill, and some handy reference sheets. And last—we present restaurant recommendations so that on the nights you’re not cooking, eating, or cleaning aboard, you can enjoy some of the delicious BVI cuisine on shore.

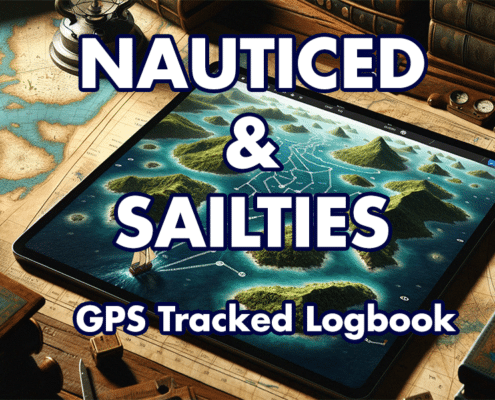
NauticEd uses the SailTies GPS Tracking App
The strengthened partnership between NauticEd and SailTies is a testament to their commitment to advancing sailing education and experience tracking. By focusing on what each does best—NauticEd in creating competent sailors through education and SailTies in tracking and sharing sailing adventures—this collaboration is setting new standards in the sailing community. Sailors can now enjoy the best of both worlds: an educational platform that builds competence and a tracking app that validates and shares their seafaring experiences with the world.

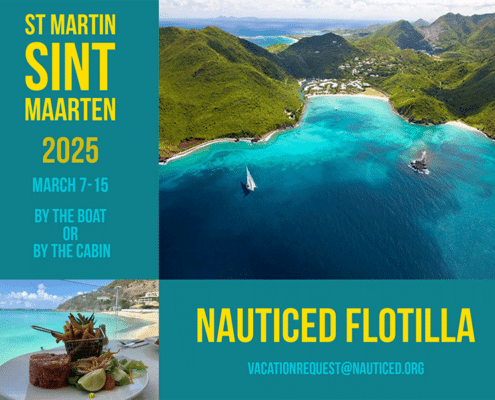
St. Martin Flotilla – March 2025
Come join the NauticEd team as we adventure to St. Martin on our family-friendly March 2025 St. Martin Flotilla.

Grenada Flotilla – November 2024
Come join the NauticEd team as we adventure to Grenada on our family-friendly November 2024 Grenada and the Grenadines Flotilla.

Sailing Lifestyle
The benefits of sailing extend far beyond mere recreation. From stress relief and improved cardiovascular fitness to enhanced mindfulness and personal growth, sailing offers a holistic approach to well-being that nourishes the mind, body, and soul. So why not cast off the lines, set sail, and experience the transformative power of the sea for yourself? Fair winds and following seas await.
Last updated on April 1st, 2024
Array


NauticEd is a fully recognized education and certification platform for sailing students combining online and on-the-water real instruction (and now VR). NauticEd offers +24 online courses, a free sailor's toolkit that includes 2 free courses, and six ranks of certification – all integrated into NauticEd’s proprietary platform. The USCG and NASBLA recognize NauticEd as having met the established American National Standards. Learn more at www.nauticed.org.

The NauticEd Vacations team are Expert Global Yacht Charter Agents – when you book a sailing vacation or bareboat charter through NauticEd, we don’t charge you a fee – we often save you money since we can compare prices from all yacht charter companies. PLUS, we can give you advice on which destination or charter company will suit your needs best. Inquire about a Sailing Vacation or Charter.